

How do you find a leak in an air mattress when it starts losing air overnight? Leakages are inevitable with the regular use of an air mattress. Whether sooner or later, you’d find a need to patch it up, but you must locate the leaking spot before making any amendments. According to insights from the Sleep Foundation, regular inspection and prompt leak detection are key to extending the lifespan of temporary sleep equipment.
Most manufacturers include patching tools with their products, but detecting the hole is often the hardest part. It is paramount that users check their air mattress before they begin to inflate it. If you are using a manual air pump, locating a leak early can save you a massive amount of time and physical effort compared to using an electric pump.
Finding a microscopic pinhole might seem difficult at first, but with a systematic approach, you can master it easily. This comprehensive guide by Sarah Collins provides the exact, actionable steps required to detect any air mattress leakage quickly.
If you’re dealing with more than just a leak, check out our master guides:
Table of contents
8 Simple Steps to Find a Leak in an Air Mattress
Before testing different detection methods, you need to prepare the mattress and review your options. Below is a quick breakdown of the most effective leak detection methods based on efficiency and difficulty.
| Detection Method | Efficiency | Difficulty Level | Best Used For |
|---|---|---|---|
| Soapy Water Spray | ⭐️⭐️⭐️⭐️⭐️ (Excellent) | Easy | Large surface leaks & seams |
| Tissue Paper Trick | ⭐️⭐️⭐️⭐️ (Very Good) | Very Easy | Small pinholes (dry method) |
| Submersion / Water | ⭐️⭐️⭐️ (Good) | Hard / Messy | Small mattresses or pillows |
| Valve Inspection | ⭐️⭐️⭐️⭐️⭐️ (Essential) | Easy | When the mattress deflates slowly |
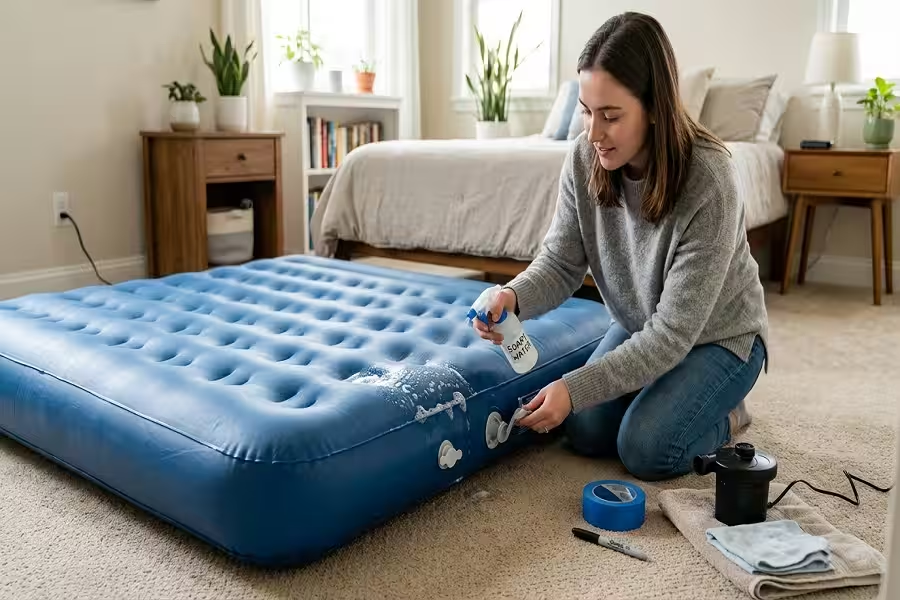
Step 1: Prepare the Mattress
- Remove all bedding, sheets, and accessories from the surface of the air mattress.
- Move the mattress to a quiet room or an area with ample space. If you are outdoors, place it inside a clean tent or car away from sharp objects.
- Flip the mattress cautiously to inspect the bottom and sides for any obvious punctures.
Step 2: Inflate It Fully
- Inflate the mattress until it is firm but not over-expanded. An electric air pump makes this faster, but a manual pump works fine too.
- Ensure the surface feels smooth and stable under pressure so that the internal air pushes out of any hidden holes.
Step 3: Check the Seams and Edges
The seamed edges are the most vulnerable parts of any inflatable bed. Inspect the stitched regions closely for any tears or gaps. Run the back of your hand along the seams—your skin is highly sensitive to cool, escaping air currents.
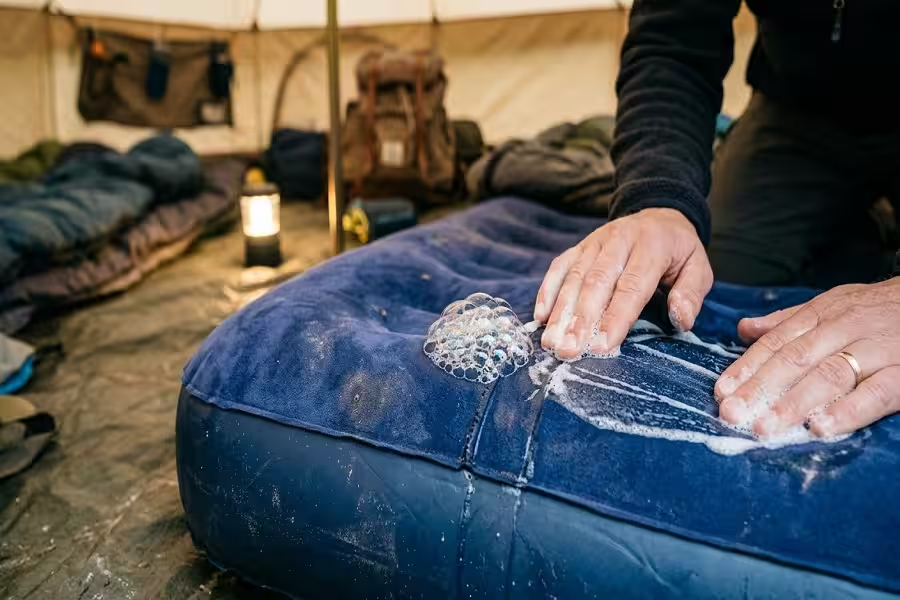
Step 4: The Soapy Water Spray Method
- Mix liquid dish soap with warm water in an empty spray bottle and shake it vigorously until it becomes highly soapy.
- Lightly spray the mixture across the surface, focusing on the seams and valves.
- What to look for: If there is a hole, the escaping air will immediately create distinct, growing soap bubbles on that exact spot. Wipe the area dry once found.
Step 5: The Submersion (Water Filling) Method
If the leak is exceptionally stubborn, you can fill the interior of the mattress with a small amount of water (ensure the exterior is completely dry first). Flip the mattress from side to side and observe which external area becomes damp or shows water seeping through. Note: Use this method cautiously depending on the PVC quality.
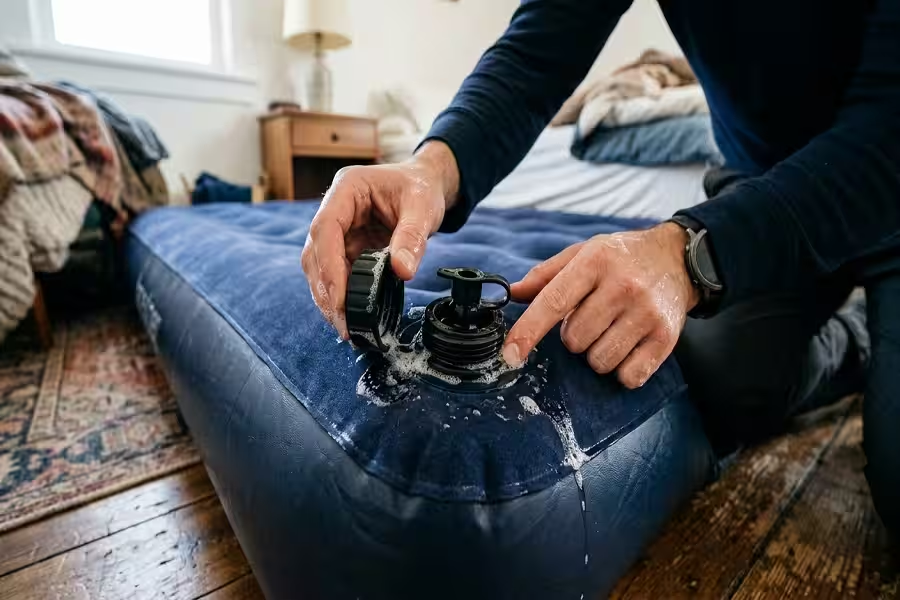
Step 6: Inspect the Valve Thoroughly
Often, the leak isn’t a hole in the vinyl but a faulty valve cover or a cracked plastic neck. Apply your soapy water mixture directly around the valve opening while the mattress is fully inflated. If it bubbles around the cap, your valve needs attention.
Step 7: Use the Tissue Paper Trick
If you prefer a dry method, lay single sheets of lightweight tissue paper or paper towels flat on the inflated mattress. Press down gently on different sections. Escaping air will blow or rustle the tissue paper, instantly pinning down the leak location.
Step 8: Mark the Spot Safely
Once you locate the puncture, use a permanent marker or a piece of tape to draw a circle around it. Let the mattress dry completely in the sun before moving on to the patching phase.
How to Fix the Leak (With or Without a Kit)
Repairing with a Professional Patch Kit
If you’ve found a leak in your air mattress, the most reliable and permanent method to fix it is by using a specialized vinyl patch kit.
- Deflate the Mattress: Ensure the mattress is fully deflated before attempting any repair to prevent air pressure from breaking the wet glue bond.
- Clean the Area: Use a damp cloth and rubbing alcohol to clean around the leak. Dirt, dust, and oils will ruin the adhesive’s bond.
- Cut and Apply the Patch: Cut a vinyl patch big enough to cover the hole, extending at least an inch around it. Apply the adhesive smoothly, press the patch down firmly, and eliminate any air bubbles. Let it cure for at least 24 hours.
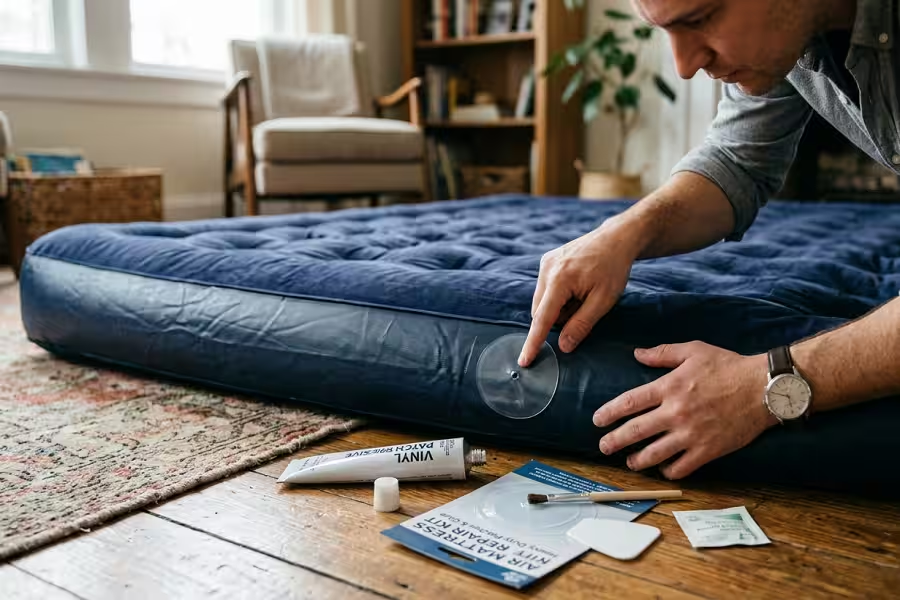
Recommended Solution: Tear-Aid Repair Patch Kit (Type A)
The Tear-Aid Type A kit features clear, heavy-duty, airtight patches that stick instantly to vinyl surfaces, ensuring a permanent fix for your airbed.
Alternative Emergency Repair Methods
In the absence of a proper patch kit, you can temporarily rely on household items, though they shouldn’t be your long-term solution:
- Duct Tape: Clean the area thoroughly and apply a piece of heavy-duty duct tape. This is strictly temporary and can peel if the mattress is regularly deflated. For a comprehensive look at alternative fixes, see our guide on how to patch a leak in an air mattress without a kit.
- Super Glue: Ideal for tiny pinholes. Apply a small drop directly over the puncture and allow it to dry completely. Keep in mind that dried super glue loses flexibility and may crack under heavy weight.
Frequently Asked Questions (FAQs)
How do I find a hole in my AirBed fast?
The fastest way is to fully inflate the bed and listen for hissing sounds in a completely quiet room. If you cannot hear it, applying a soapy water spray is the most effective visual method to track down hidden leaks immediately.
How do you fix a hole in an air mattress with nail polish?
Clear nail polish can act as an emergency sealant for very small punctures. Clean and dry the area, apply a thin layer of nail polish over the puncture, and let it dry. Apply 2-3 layers to ensure a temporary seal.
Is it safe to sleep on an air mattress with a bubble?
Sleeping on an air mattress with a bubble is highly discouraged. A bubble indicates that the internal seams or vinyl walls have ruptured, creating a weak spot that can pop unexpectedly. If your mattress exhibits this issue, refer to our detailed analysis on dealing with a bubble in an air mattress.
How long should I wait before using the mattress after repairing a leak?
You should wait at least 24 hours after applying a patch patch before re-inflating or sleeping on the mattress. This ensures the industrial adhesive cures perfectly and forms an airtight seal.
Final Verdict
Maintaining the structural integrity of your air mattress is essential for securing a restorative night’s sleep. By catching leaks early using the soapy water or tissue paper methods, you can perform quick, stress-free repairs that drastically extend the lifespan of your inflatable bed.
Remember to always keep a professional vinyl patch kit handy during camping trips or when hosting guests. Regular maintenance and proper under-bed protection ensure your air mattress remains resilient, comfortable, and fully inflated whenever you need it most.

Expert in the world of air mattresses and outdoor sleep solutions, with years of experience testing and reviewing products to ensure comfort and durability. My passion is to help people make the best choices for their sleep comfort, whether for camping adventures or overnight guests.